Adding Loopback interface in Windows 10
To add a loopback interface in Windows 10, press Win+R and enter ‘hdwwiz’
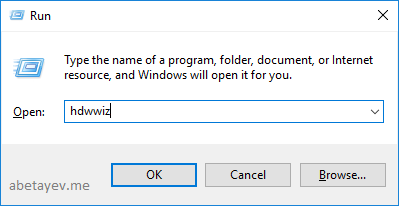
Press ‘OK’ and confirm the pop-up on User Account Control. We see the following ‘Add Hardware Wizard’
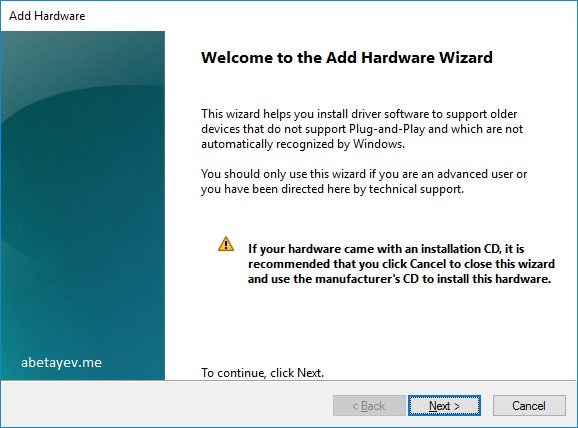
Click ‘Next’ and on the next screen choose ‘Install the hardware that I manually select from a list (Advanced)’

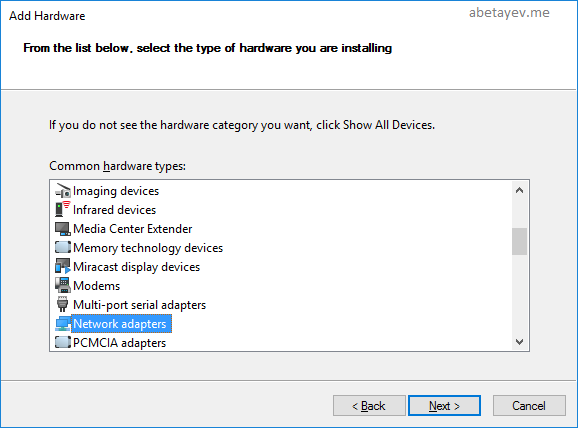
On the next screen select ‘Network adapters’ from the list of hardware types and click ‘Next’
From the ‘Manufacturer’ list select ‘Microsoft’ and click on ‘Microsoft KM-TEST Loopback Adapter’ in the ‘Model’ column
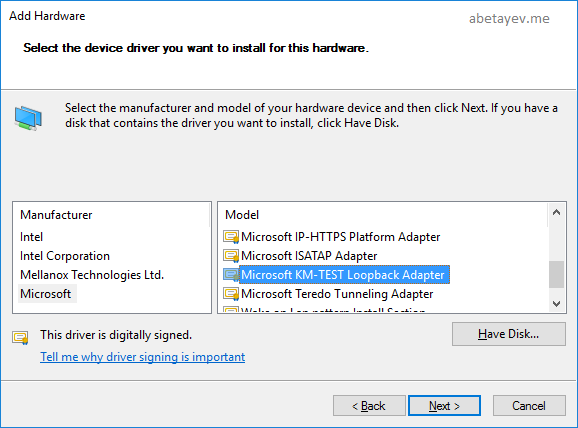
Confirm your selection
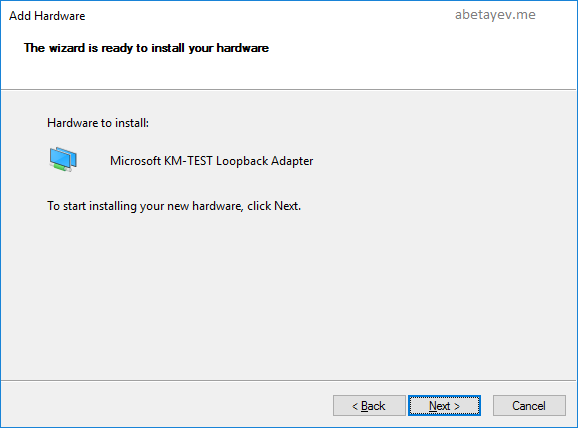
We have successfully added the loopback interface

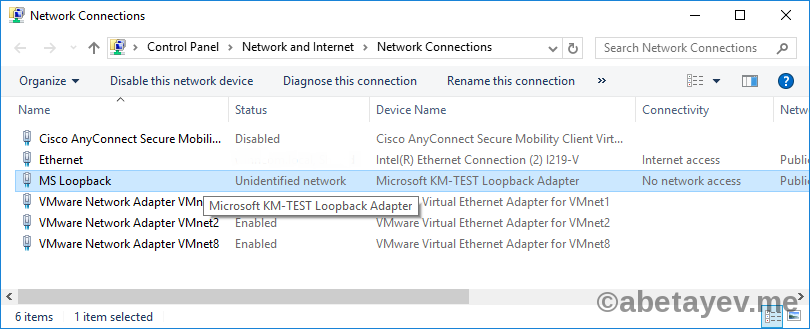
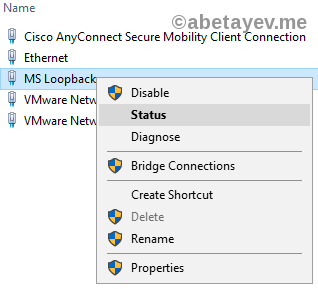
We can see the new interface in the Adapter settings. I renamed mine to MS Loopback.
Now let’s share the PC’s Internet connection with MS Loopback. My PC is connected to the Internet through an Ethernet interface.
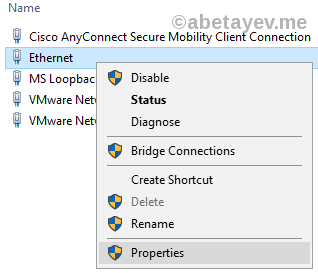
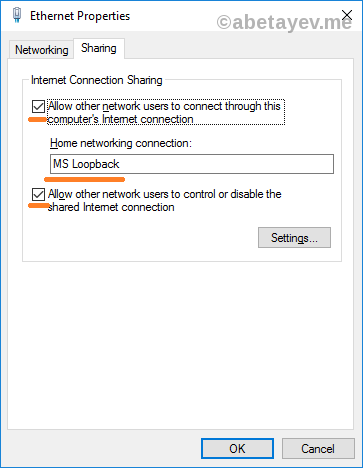
On the Sharing tab of Interface properties allow your loopback interface to use PC’s Internet connection and press OK.
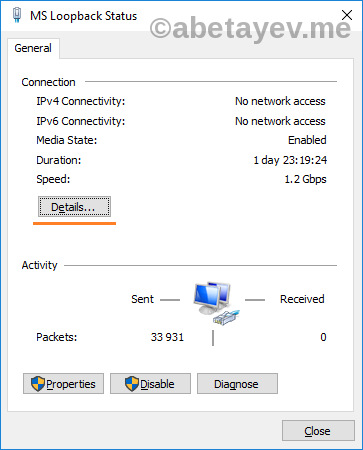
We need to check the loopback interface’s Status.
Then press Details.
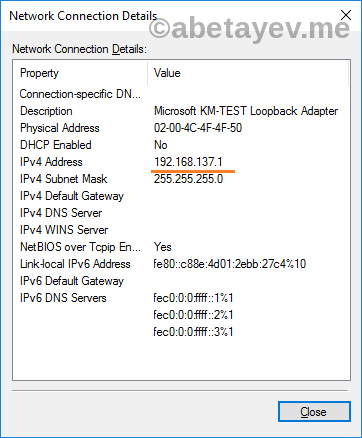
Everything looks fine. My loopback interface was assigned 192.168.137.1 IP address. We’re ready for the next step.